Introduction
Turning a Figma prototype into a working Flutter app can be fast and repeatable when you combine good design hygiene with Vibe Studio's Figma-to-Flutter workflow. This tutorial is concise and code-forward: it covers how to prepare your Figma file, import and map assets in Vibe Studio, convert generated output into responsive Flutter widgets, and validate performance and interactions on mobile. Expect hands-on steps you can apply immediately in a real project.
Preparing The Figma File
Start by enforcing a few rules in Figma so the generated Flutter code is predictable and maintainable:
Use frames for screens and name them clearly (Home, Profile, Settings).
Use Components (and nested components) for repeating UI (buttons, cards, headers).
Define Text Styles and Color Styles; Vibe Studio maps these to design tokens and ThemeData.
Use Auto Layout for lists and responsive groups. Avoid manual pixel nudges that break constraints.
Mark exportable assets (icons as SVG, photos as optimized PNG/JPG). Prefer SVG for icons and logos because Flutter preserves vector fidelity.
Flatten complex effects (heavy shadows, blurs) into rasterized assets only when necessary.
If you anticipate multiple device sizes, add constraints and variants for tablet/phone width so Vibe Studio can infer responsive patterns.
Importing Into Vibe Studio
Connect your Figma file to Vibe Studio using the file URL or API token. Vibe Studio will parse frames, components, styles, and assets and expose them in a project view.
What to check after import:
Component Mapping: Confirm that your Figma components become reusable Flutter widgets in the Vibe component library.
Token Mapping: Verify color and typography tokens. Vibe usually detects named styles and produces a tokens file you can export to ThemeData.
Assets: Inspect exported SVG/PNG assets and their path in the generated assets folder.
Navigation/Interactions: Vibe can export prototype links as placeholder gesture handlers. Review these to wire real navigation.
When you click Generate or Export, Vibe produces a Flutter package layout: lib/widgets, lib/styles, assets/, and often a small example app to preview the integration.
Converting Designs To Flutter Widgets
Vibe's output is a starting point. Treat generated files as readable code you will adapt, not final production code.
Key integration tasks:
Wrap generated screen widgets in responsive containers. Avoid absolute pixel scaling; use constraints and max-width patterns for large screens.
Replace placeholder onTap handlers with navigation and real logic (Navigator, routing package, or your state management).
Centralize theme tokens into ThemeData and use Theme.of(context) in your app so styles are consistent.
Example: embedding a generated widget inside a responsive scaffold.
class PrototypeScreen extends StatelessWidget {
  final Widget generated;
  const PrototypeScreen({required this.generated, super.key});

  @override
  Widget build(BuildContext context) {
    return Scaffold(
      body: LayoutBuilder(
        builder: (ctx, constraints) => Center(
          child: ConstrainedBox(
            constraints: BoxConstraints(maxWidth: 720),
            child: generated,
          ),
        ),
      ),
    );
  }
}
And centralizing tokens into ThemeData:
final ThemeData appTheme = ThemeData(
  primaryColor: Color(0xFF1A73E8),
  textTheme: TextTheme(bodyMedium: TextStyle(fontFamily: 'Inter')),
);
Use const constructors where possible in the generated widgets to reduce rebuild costs. Refactor repeated layouts into smaller widgets you control; keep the generated components as building blocks.
Testing, Styling, And Performance
Run the app on devices and simulators early. Validate these items:
Pixel Accuracy: Verify fonts, spacings, and icon placements against the original prototype. Minor tweaks are expected.
Interactions: Replace Vibe's prototype links with Navigator routes or deep links. Add unit/widget tests for navigation and key flows.
Asset Optimization: Convert large photos to WebP or optimized JPG, and compress SVG where possible. Precache heavy images to avoid jank.
Performance: Profile on-device. Use const widgets, avoid large build methods, and isolate repaints (RepaintBoundary) for animated areas.
For state management, incrementally adopt Provider, Riverpod, Bloc, or your preferred solution. Start small: wire a login flow or data fetch to ensure the UI responds and scales.
Vibe Studio speeds initial code generation, but the common next steps are refactoring for responsiveness, wiring business logic, and enforcing app-wide theming and accessibility.
Vibe Studio
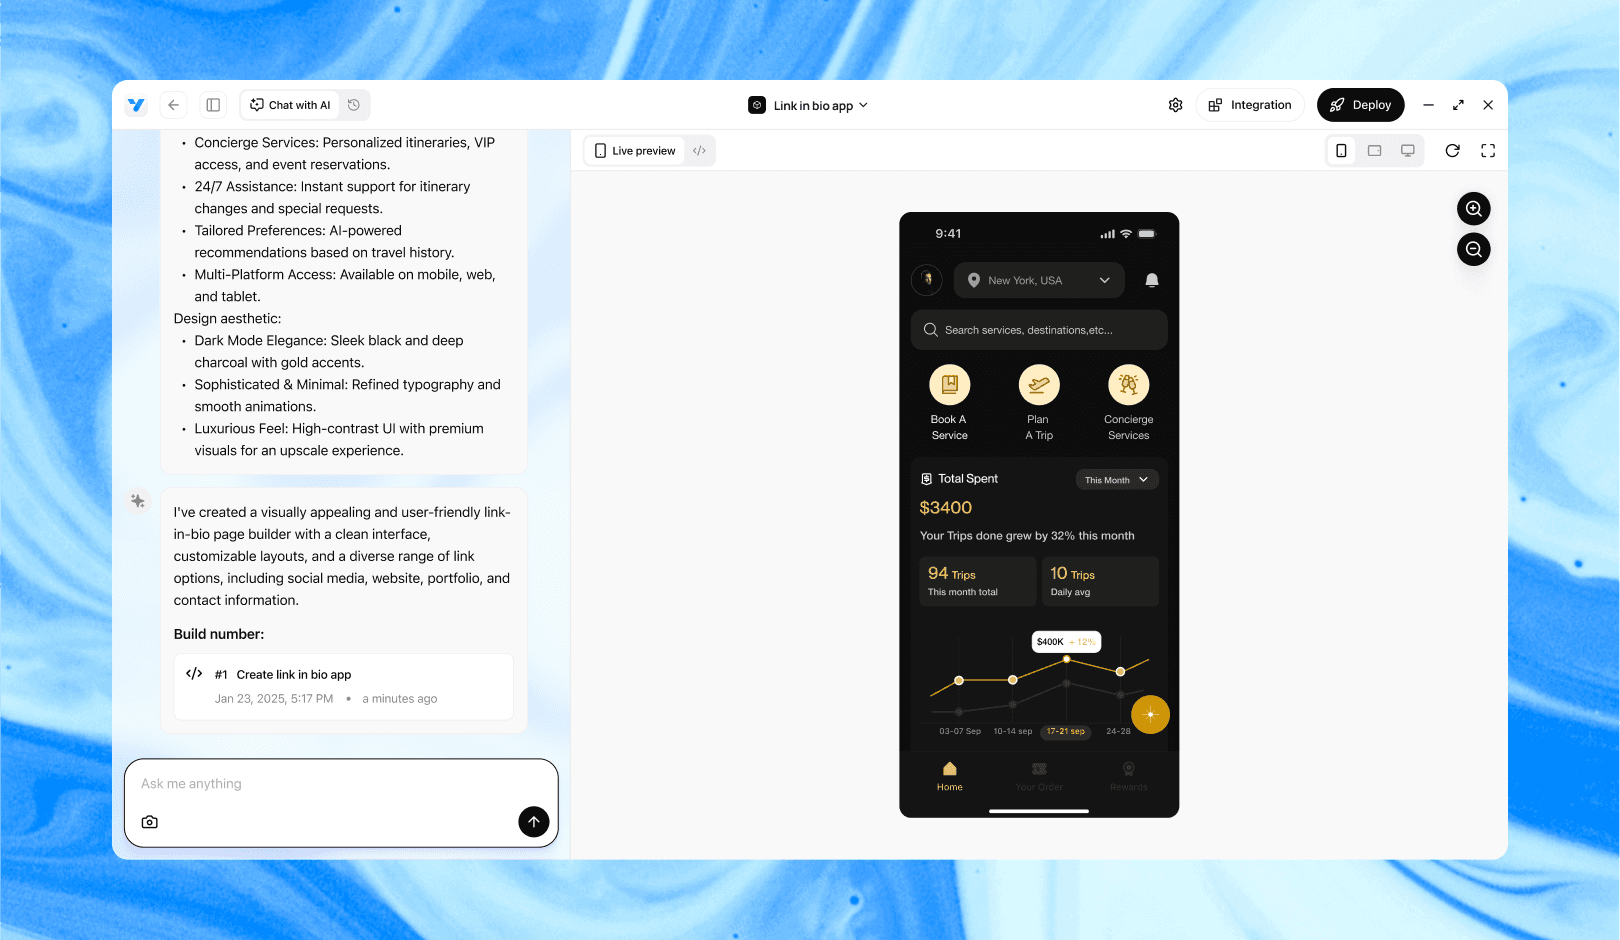
Vibe Studio, powered by Steve’s advanced AI agents, is a revolutionary no-code, conversational platform that empowers users to quickly and efficiently create full-stack Flutter applications integrated seamlessly with Firebase backend services. Ideal for solo founders, startups, and agile engineering teams, Vibe Studio allows users to visually manage and deploy Flutter apps, greatly accelerating the development process. The intuitive conversational interface simplifies complex development tasks, making app creation accessible even for non-coders.
Conclusion
Using Vibe Studio to convert a well-structured Figma prototype into Flutter accelerates the initial app shell: components, tokens, and assets come pre-mapped. The critical work after generation is responsive layout, state wiring, performance tuning, and replacing prototype handlers with real navigation and services. With disciplined Figma preparation and a small refactor pass in Flutter, you can ship a production-quality mobile development implementation efficiently.