Introduction
Managing release channels (Beta, Staging, Production) while targeting multiple Firebase projects is a common requirement in Flutter mobile development. This tutorial shows a pragmatic approach: generate per-project Firebase configuration, wire Flutter flavors or build targets to those configs, and automate builds and deployments so each release channel uses the correct Firebase project.
Manage Firebase Projects
Create separate Firebase projects for each release channel—e.g., myapp-dev, myapp-staging, myapp-prod. For each platform (Android, iOS), register the app and download configuration files (google-services.json for Android, GoogleService-Info.plist for iOS). Use the FlutterFire CLI to generate firebase_options files per project and keep them in project-scoped folders:
tools/firebase/dev/firebase_options.dart
tools/firebase/staging/firebase_options.dart
tools/firebase/prod/firebase_options.dart
Commands (one per project) with FlutterFire CLI:
flutterfire configure --project myapp-dev --out=tools/firebase/dev
This produces a DefaultFirebaseOptions in each folder. Commit these generated files to source control in a secure manner — do not embed service account keys. Keep project IDs and client IDs in the generated code.
Configure Flutter Flavors And Build Targets
Use flavors (Android) and schemes/configurations (iOS) or separate entrypoints to bind a build to a Firebase options file. A reliable pattern is to provide a separate main entrypoint per release channel and select the Firebase options via compile-time dart-define.
Example minimal selection logic in lib/main_common.dart and small entrypoint files for each flavor. The entrypoint reads the FLAVOR environment variable and initializes Firebase with the corresponding options.
import 'package:flutter/widgets.dart';
import 'package:firebase_core/firebase_core.dart';
import 'tools.firebase.dev.firebase_options.dart' as dev;
import 'tools.firebase.staging.firebase_options.dart' as stag;
import 'tools.firebase.prod.firebase_options.dart' as prod;
Create entry files like lib/main_dev.dart, lib/main_staging.dart, lib/main_prod.dart that call mainCommon() and runApp. On Android, define productFlavors in app/build.gradle, and on iOS add schemes/configurations. Use different applicationId / bundleId per flavor to allow parallel installs.
Build commands:
flutter build apk --flavor staging -t lib/main_staging.dart --dart-define=FLAVOR=staging
Or for iOS:
flutter build ios --flavor prod -t lib/main_prod.dart --dart-define=FLAVOR=prod
The --dart-define approach ensures the same binary code picks the correct FirebaseOptions at runtime based on the compile-time define.
Automate With CI/CD
Automate artifact creation and distribution for each channel using CI (GitHub Actions, GitLab CI, Bitrise, Codemagic). Key steps in the pipeline:
Checkout code and generate firebase options (or use committed files).
Run flutter pub get and build for the target flavor with the appropriate --dart-define.
Upload artifacts to distribution channels: Google Play Internal / Closed Testing for Beta, Play Beta for Staging, Production track for Production; TestFlight for iOS.
A CI job matrix maps branch or tag naming to a flavor and Firebase project. For example: branch feature/* => dev, branch release/* => staging, tag v* => prod. Ensure CI secrets (keystore, signing keys, App Store Connect keys, Google Play service account JSON) are stored securely and scoped to the channel.
When using Firebase-specific CI tasks (Crashlytics mapping, dynamic links), pass the correct Firebase project id or credentials. For Crashlytics symbol upload, use the flavor-specific google-services.json / plist or set environment variables to point at the project.
Testing And Verification
Test each channel with a checklist:
Verify the correct Firebase project receives analytics events and crash reports.
Verify auth and database rules operate per environment (never use production rules for staging testing).
Validate push notifications with the channel-specific FCM credentials.
Confirm that backend integrations (Cloud Functions, remote config) point to the correct project.
Use runtime assertions in debug builds to print the current Firebase app name or project ID, for example logging DefaultFirebaseOptions.currentPlatform.projectId. Automated integration tests can run against staging to validate end-to-end flows before promoting a build to production.
Vibe Studio
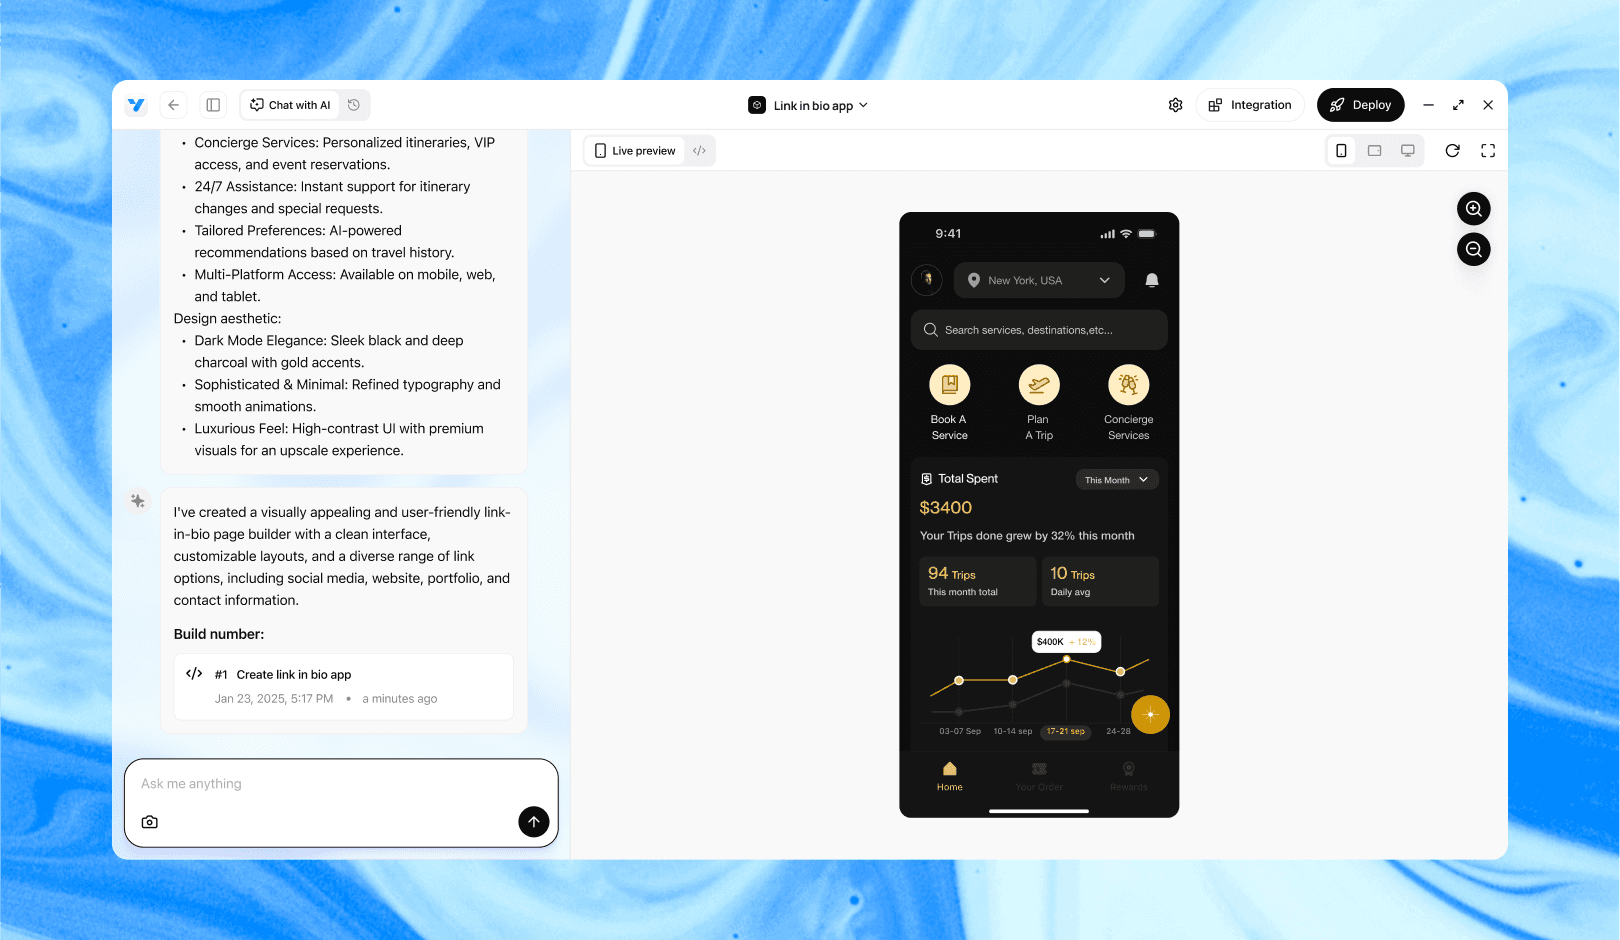
Vibe Studio, powered by Steve’s advanced AI agents, is a revolutionary no-code, conversational platform that empowers users to quickly and efficiently create full-stack Flutter applications integrated seamlessly with Firebase backend services. Ideal for solo founders, startups, and agile engineering teams, Vibe Studio allows users to visually manage and deploy Flutter apps, greatly accelerating the development process. The intuitive conversational interface simplifies complex development tasks, making app creation accessible even for non-coders.
Conclusion
Mapping release channels to multiple Firebase projects in Flutter requires disciplined separation of configuration, simple selection logic via --dart-define or entrypoints, and CI automation that builds and signs flavors tied to the right Firebase options. This pattern reduces accidental cross-talk between environments, makes testing predictable, and streamlines distribution for Beta, Staging, and Production channels in mobile development.