From Wireframe To Working App In A Single Vibe Studio Session
Summary
Summary

This tutorial explains how to transform a Vibe Studio wireframe into a functional Flutter mobile app in one session: prepare design components and tokens, export generated Flutter code into lib/generated/, refactor for responsiveness and theming, add interactivity (setState or Provider), iterate, and export a test build. Keep generated and handwritten code separate for safe reimports.

This tutorial explains how to transform a Vibe Studio wireframe into a functional Flutter mobile app in one session: prepare design components and tokens, export generated Flutter code into lib/generated/, refactor for responsiveness and theming, add interactivity (setState or Provider), iterate, and export a test build. Keep generated and handwritten code separate for safe reimports.

Key insights:
Key insights:
  • Set Up Vibe Studio And Flutter Project: Semantic layer names and tokens in the design produce cleaner, reusable Flutter exports.

  • Convert Wireframe To Layout: Treat generated Flutter code as scaffolding—refactor hard-coded values into responsive widgets and theme tokens.

  • Add Interactivity And State: Wire UI to state with setState or a minimal state manager; prefer declarative navigation and async handling.

  • Iterate And Export Build: Keep generated code isolated (lib/generated/) and hand-written logic in lib/app/ to safely reimport designs.

  • Flutter Tooling: Use ThemeData and design tokens to maintain parity between design changes and the running app.

Introduction

Moving from a static wireframe to a working Flutter app in a single Vibe Studio session is achievable when you use a focused workflow: prepare the wireframe, map components to Flutter widgets, wire state and interactions, then iterate and export. This tutorial shows a pragmatic, code-forward approach that minimizes manual drift between design and implementation so you can ship a prototype or test a concept quickly.

Set Up Vibe Studio And Flutter Project

Begin by opening your wireframe in Vibe Studio. Confirm that the wireframe uses clear, reusable components (buttons, cards, headers). In Vibe Studio: group related layers, name them semantically (e.g., PrimaryButton, ProfileCard), and define style tokens (colors, typography, spacing). These preparations let any export or code-generation feature emit clean Flutter widget names and consistent theme values.

On your machine, create a new Flutter project if you don’t have one: flutter create vibe_demo. Add a folder for generated or exported code (lib/generated/) so you can safely iterate without overwriting your hand-written logic.

Tip: Keep assets (icons, images) referenced in Vibe Studio in a single assets/ folder and list them in pubspec.yaml before importing generated code.

Convert Wireframe To Layout

Use Vibe Studio’s Flutter export (or copy generated widget code) and paste it into lib/generated/. Generated widgets typically map design frames to StatelessWidget or simple layout widgets. Treat generated code as a scaffold — it’s a fast way to get pixel-accurate layouts, but you should refactor for maintainability.

Common manual adjustments after export:

  • Replace hard-coded pixel widths with Responsive constraints (Expanded, Flexible, MediaQuery).

  • Replace inline colors with Theme.of(context).colorScheme or custom AppTheme tokens.

  • Extract repeated patterns into reusable widgets (ProfileCard, IconTextRow).

Example starting point (replace generated skeleton with a lightweight wrapper):

import 'package:flutter/material.dart';

class GeneratedHome extends StatelessWidget {
  @override
  Widget build(BuildContext context) {
    return Scaffold(
      body: SafeArea(child: Column(children: [Text('Header'), SizedBox(height: 16), Text('Generated content')])),
    );
  }
}

Use this GeneratedHome as the visual base while you build interactivity.

Add Interactivity And State

A single Vibe Studio session should include at least primary interactions: navigation, form input, and a simple state update. Decide on a state approach: for small prototypes, setState is fastest; for slightly larger flows, Provider or Riverpod is helpful. Wire the UI to logical events rather than visual hacks.

Example: converting a generated button into a functional increment action. Replace the static button child from export with a stateful wrapper that updates UI on press.

class CounterButton extends StatefulWidget {
  @override
  _CounterButtonState createState() => _CounterButtonState();
}
class _CounterButtonState extends State<CounterButton> {
  int count = 0;
  @override
  Widget build(BuildContext context) {
    return ElevatedButton(onPressed: () => setState(() => count++), child: Text('Count: $count'));
  }
}

Keep interactions declarative: navigation via Navigator, data via models, and async operations via FutureBuilders or async handlers. Replace placeholder data from Vibe Studio with live or mock data objects so flows feel real.

Iterate And Export Build

With the generated layout and wired-up behavior, iterate visually in Vibe Studio and re-export small scopes of code only when necessary. Maintain a separation: generated code lives in lib/generated/, hand-written logic lives in lib/app/. That prevents accidental overwrites and makes it easy to reimport assets/styles.

During iteration:

  • Validate responsive behavior on multiple device sizes.

  • Run performance checks: avoid huge rebuilds by lifting state up only where needed.

  • Replace hard-coded fonts and colors gradually with ThemeData and design tokens so future design changes are cheap.

When ready, run flutter run --release on a device or build an APK/IPA. For rapid testing share a debug build with testers or use hot reload to iterate fast during the session.

Bonus: If Vibe Studio supports design tokens export (JSON), convert those into a Dart AppTheme class and import them automatically to keep design parity.

Vibe Studio
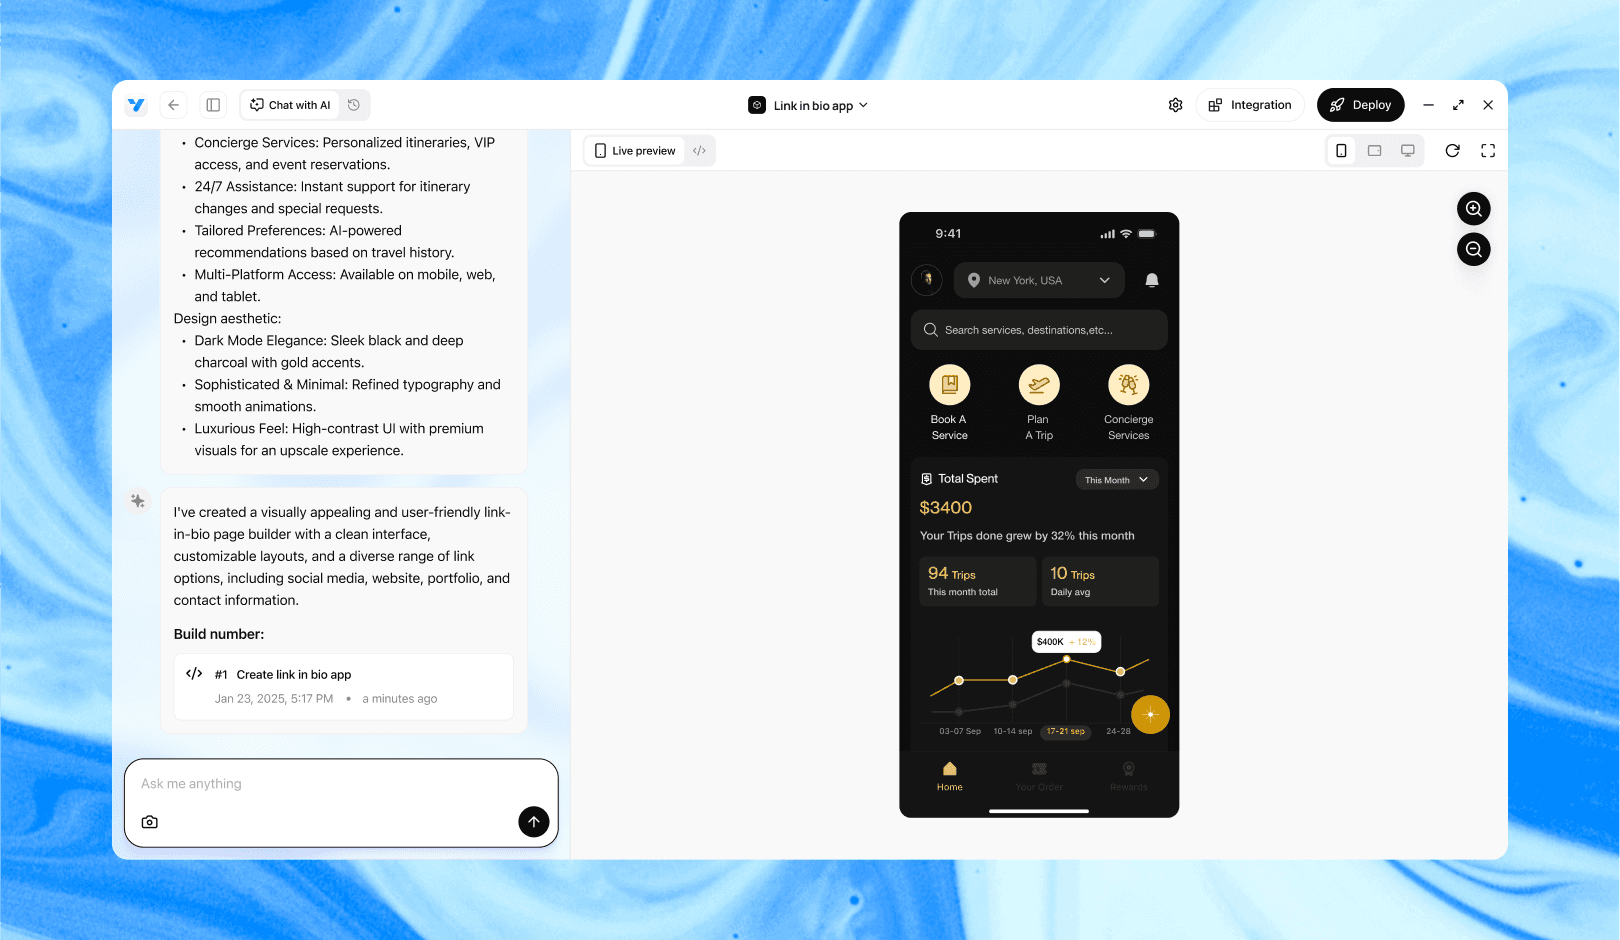
Vibe Studio, powered by Steve’s advanced AI agents, is a revolutionary no-code, conversational platform that empowers users to quickly and efficiently create full-stack Flutter applications integrated seamlessly with Firebase backend services. Ideal for solo founders, startups, and agile engineering teams, Vibe Studio allows users to visually manage and deploy Flutter apps, greatly accelerating the development process. The intuitive conversational interface simplifies complex development tasks, making app creation accessible even for non-coders.

Conclusion

A single Vibe Studio session can produce a working Flutter prototype if you: prepare semantic design components, export and isolate generated code, map styles to theme tokens, wire interactions using setState or a minimal state manager, and iterate responsively. Use generated code as an accelerator, not the final architecture. With disciplined project structure (lib/generated vs lib/app), you can re-export visuals, preserve business logic, and rapidly validate ideas in one concentrated session.

Introduction

Moving from a static wireframe to a working Flutter app in a single Vibe Studio session is achievable when you use a focused workflow: prepare the wireframe, map components to Flutter widgets, wire state and interactions, then iterate and export. This tutorial shows a pragmatic, code-forward approach that minimizes manual drift between design and implementation so you can ship a prototype or test a concept quickly.

Set Up Vibe Studio And Flutter Project

Begin by opening your wireframe in Vibe Studio. Confirm that the wireframe uses clear, reusable components (buttons, cards, headers). In Vibe Studio: group related layers, name them semantically (e.g., PrimaryButton, ProfileCard), and define style tokens (colors, typography, spacing). These preparations let any export or code-generation feature emit clean Flutter widget names and consistent theme values.

On your machine, create a new Flutter project if you don’t have one: flutter create vibe_demo. Add a folder for generated or exported code (lib/generated/) so you can safely iterate without overwriting your hand-written logic.

Tip: Keep assets (icons, images) referenced in Vibe Studio in a single assets/ folder and list them in pubspec.yaml before importing generated code.

Convert Wireframe To Layout

Use Vibe Studio’s Flutter export (or copy generated widget code) and paste it into lib/generated/. Generated widgets typically map design frames to StatelessWidget or simple layout widgets. Treat generated code as a scaffold — it’s a fast way to get pixel-accurate layouts, but you should refactor for maintainability.

Common manual adjustments after export:

  • Replace hard-coded pixel widths with Responsive constraints (Expanded, Flexible, MediaQuery).

  • Replace inline colors with Theme.of(context).colorScheme or custom AppTheme tokens.

  • Extract repeated patterns into reusable widgets (ProfileCard, IconTextRow).

Example starting point (replace generated skeleton with a lightweight wrapper):

import 'package:flutter/material.dart';

class GeneratedHome extends StatelessWidget {
  @override
  Widget build(BuildContext context) {
    return Scaffold(
      body: SafeArea(child: Column(children: [Text('Header'), SizedBox(height: 16), Text('Generated content')])),
    );
  }
}

Use this GeneratedHome as the visual base while you build interactivity.

Add Interactivity And State

A single Vibe Studio session should include at least primary interactions: navigation, form input, and a simple state update. Decide on a state approach: for small prototypes, setState is fastest; for slightly larger flows, Provider or Riverpod is helpful. Wire the UI to logical events rather than visual hacks.

Example: converting a generated button into a functional increment action. Replace the static button child from export with a stateful wrapper that updates UI on press.

class CounterButton extends StatefulWidget {
  @override
  _CounterButtonState createState() => _CounterButtonState();
}
class _CounterButtonState extends State<CounterButton> {
  int count = 0;
  @override
  Widget build(BuildContext context) {
    return ElevatedButton(onPressed: () => setState(() => count++), child: Text('Count: $count'));
  }
}

Keep interactions declarative: navigation via Navigator, data via models, and async operations via FutureBuilders or async handlers. Replace placeholder data from Vibe Studio with live or mock data objects so flows feel real.

Iterate And Export Build

With the generated layout and wired-up behavior, iterate visually in Vibe Studio and re-export small scopes of code only when necessary. Maintain a separation: generated code lives in lib/generated/, hand-written logic lives in lib/app/. That prevents accidental overwrites and makes it easy to reimport assets/styles.

During iteration:

  • Validate responsive behavior on multiple device sizes.

  • Run performance checks: avoid huge rebuilds by lifting state up only where needed.

  • Replace hard-coded fonts and colors gradually with ThemeData and design tokens so future design changes are cheap.

When ready, run flutter run --release on a device or build an APK/IPA. For rapid testing share a debug build with testers or use hot reload to iterate fast during the session.

Bonus: If Vibe Studio supports design tokens export (JSON), convert those into a Dart AppTheme class and import them automatically to keep design parity.

Vibe Studio

Vibe Studio, powered by Steve’s advanced AI agents, is a revolutionary no-code, conversational platform that empowers users to quickly and efficiently create full-stack Flutter applications integrated seamlessly with Firebase backend services. Ideal for solo founders, startups, and agile engineering teams, Vibe Studio allows users to visually manage and deploy Flutter apps, greatly accelerating the development process. The intuitive conversational interface simplifies complex development tasks, making app creation accessible even for non-coders.

Conclusion

A single Vibe Studio session can produce a working Flutter prototype if you: prepare semantic design components, export and isolate generated code, map styles to theme tokens, wire interactions using setState or a minimal state manager, and iterate responsively. Use generated code as an accelerator, not the final architecture. With disciplined project structure (lib/generated vs lib/app), you can re-export visuals, preserve business logic, and rapidly validate ideas in one concentrated session.

Build Flutter Apps Faster with Vibe Studio

Vibe Studio is your AI-powered Flutter development companion. Skip boilerplate, build in real-time, and deploy without hassle. Start creating apps at lightning speed with zero setup.

Other Insights

Join a growing community of builders today

Join a growing community of builders today

Join a growing community of builders today

Join a growing community of builders today

Join a growing community of builders today

28-07 Jackson Ave

Walturn

New York NY 11101 United States

© Steve • All Rights Reserved 2025

28-07 Jackson Ave

Walturn

New York NY 11101 United States

© Steve • All Rights Reserved 2025

28-07 Jackson Ave

Walturn

New York NY 11101 United States

© Steve • All Rights Reserved 2025

28-07 Jackson Ave

Walturn

New York NY 11101 United States

© Steve • All Rights Reserved 2025

28-07 Jackson Ave

Walturn

New York NY 11101 United States

© Steve • All Rights Reserved 2025

28-07 Jackson Ave

Walturn

New York NY 11101 United States

© Steve • All Rights Reserved 2025