Creating A Custom Gauge Widget With CustomPainter And Animations
Summary
Summary

This tutorial shows how to create a customizable, animated gauge in Flutter using CustomPainter for drawing and AnimationController for smooth transitions. It covers design choices, painter implementation, animation integration, and performance optimizations for mobile development. Key points include normalizing values, separating static and dynamic drawing, precise shouldRepaint logic, and exposing a clean widget API.

This tutorial shows how to create a customizable, animated gauge in Flutter using CustomPainter for drawing and AnimationController for smooth transitions. It covers design choices, painter implementation, animation integration, and performance optimizations for mobile development. Key points include normalizing values, separating static and dynamic drawing, precise shouldRepaint logic, and exposing a clean widget API.

Key insights:
Key insights:
  • Gauge Design And Layout: Center-based geometry and exposed properties (min/max/value/colors) keep the widget flexible and reusable.

  • Implementing CustomPainter: Draw arcs, ticks, and labels in paint(); use save/restore, strokeCap, and precise shouldRepaint to optimize repaints.

  • Animating The Gauge: Manage AnimationController in the StatefulWidget and animate normalized value percentages for smooth transitions.

  • Integrating Into Your App: Normalize inputs, expose configuration, add semantics, and debounce frequent updates to avoid unnecessary redrawing.

  • Performance And Optimization: Cache static background using PictureRecorder or offscreen images and precompute text layouts to reduce per-frame work.

Introduction

Creating a custom gauge in Flutter is a practical way to communicate continuous values (speed, progress, temperature) with style. This tutorial walks through building a reusable Gauge widget using CustomPainter for drawing and Flutter animations for smooth transitions. You'll learn how to separate layout, painting, and animation concerns so the widget is performant and easy to integrate into mobile development projects.

Gauge Design And Layout

Start with a clear design: a circular arc representing the range, a needle or sweep showing the current value, ticks/labels, and a center widget for numeric display. Decide on a coordinate system: center-based drawing simplifies arcs and needles. Expose properties on the widget for min, max, value, startAngle, sweepAngle, colors, and size so the component is configurable for different designs.

Sizing: respect parent constraints. Use SizedBox or let the widget be flexible. In build(), compute the radius as min(width, height)/2 and pass size to painter. Keep layout logic outside the painter; CustomPainter should only draw based on provided size and parameters.

Implementing CustomPainter

CustomPainter is the drawing engine. Use Canvas.drawArc for the main sweep, drawLine/drawCircle for ticks and center, and TextPainter for labels. Structure the painter to separate static elements (background arc, ticks) from dynamic elements (sweep, needle). This makes it easier to optimize repaint decisions.

Example painter skeleton:

class GaugePainter extends CustomPainter {
  final double valuePct; // 0..1
  // other style fields
  GaugePainter(this.valuePct);
  @override
  void paint(Canvas canvas, Size size) {
    final radius = size.shortestSide / 2;
    final center = Offset(size.width / 2, size.height / 2);
    // draw background arc, ticks, then dynamic sweep
  }
  @override
  bool shouldRepaint(covariant GaugePainter old) => old.valuePct != valuePct;
}

Key painting tips:

  • Use Paint.strokeCap = StrokeCap.round for polished arc ends.

  • Convert degrees to radians with radians = degrees * pi/180.

  • For ticks, rotate the canvas or compute points with sin/cos from angles.

  • Use save() and restore() around transforms to keep state predictable.

Animating The Gauge

Animations make gauges feel alive. Use an AnimationController and Tween to animate value changes. Do not recreate controllers in painter; manage them in the StatefulWidget. Use AnimatedBuilder or listen to controller and call setState to trigger repaints.

A compact animation pattern:

controller.animateTo(targetPct, duration: d, curve: Curves.easeOut);
// In build:
CustomPaint(painter: GaugePainter(controller.value /* mapped to 0..1*/));

Animate the sweep angle or needle rotation rather than raw numeric text for smoother visuals. Interpolate colors if you want a gradient effect based on value. For frequent updates (e.g., streaming telemetry), debounce state updates and animate to new values instead of jumping.

Integrating Into Your App

Wrap the CustomPaint in a StatefulWidget that exposes API: min, max, value, duration, color scheme, showLabels, size. Convert external numeric value to normalized percentage before passing to painter. Example conversion: clamp((value - min)/(max - min), 0.0, 1.0).

Performance considerations for mobile development:

  • Implement shouldRepaint precisely; return true only when parameters affecting visuals change.

  • Cache static parts using PictureRecorder or draw them to an offscreen Image if ticks and background are expensive and rarely change.

  • Keep expensive text layout out of the paint loop; precompute TextPainter layouts when style or size changes.

Accessibility: provide semantics for the gauge value so screen readers can announce the numeric reading. Also consider high-contrast color schemes and scalable sizing for different device DPIs.

Vibe Studio
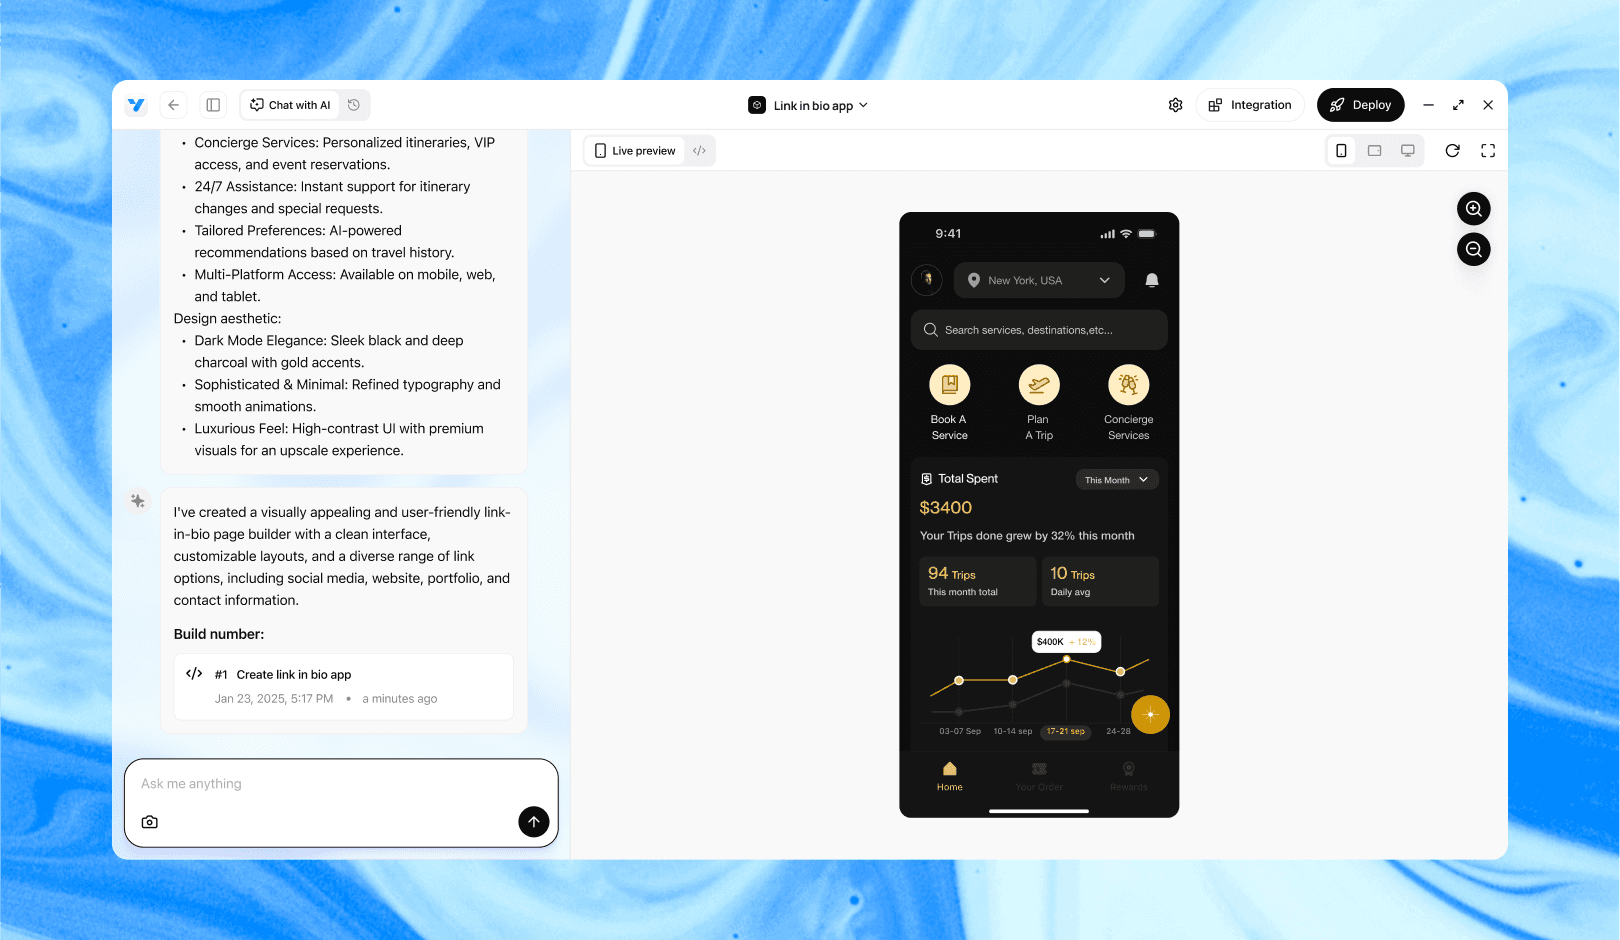
Vibe Studio, powered by Steve’s advanced AI agents, is a revolutionary no-code, conversational platform that empowers users to quickly and efficiently create full-stack Flutter applications integrated seamlessly with Firebase backend services. Ideal for solo founders, startups, and agile engineering teams, Vibe Studio allows users to visually manage and deploy Flutter apps, greatly accelerating the development process. The intuitive conversational interface simplifies complex development tasks, making app creation accessible even for non-coders.

Conclusion

Building a custom gauge with CustomPainter and Flutter animations gives you full control over appearance and behavior while keeping performance predictable. Separate layout, painting, and animation responsibilities: use the widget to manage state and animation controllers, use CustomPainter to draw based on normalized parameters, and optimize repaints for mobile development. With this pattern you can extend the gauge with multiple arcs, gradient sweeps, or interactive pointers while keeping the API simple and reusable.

Introduction

Creating a custom gauge in Flutter is a practical way to communicate continuous values (speed, progress, temperature) with style. This tutorial walks through building a reusable Gauge widget using CustomPainter for drawing and Flutter animations for smooth transitions. You'll learn how to separate layout, painting, and animation concerns so the widget is performant and easy to integrate into mobile development projects.

Gauge Design And Layout

Start with a clear design: a circular arc representing the range, a needle or sweep showing the current value, ticks/labels, and a center widget for numeric display. Decide on a coordinate system: center-based drawing simplifies arcs and needles. Expose properties on the widget for min, max, value, startAngle, sweepAngle, colors, and size so the component is configurable for different designs.

Sizing: respect parent constraints. Use SizedBox or let the widget be flexible. In build(), compute the radius as min(width, height)/2 and pass size to painter. Keep layout logic outside the painter; CustomPainter should only draw based on provided size and parameters.

Implementing CustomPainter

CustomPainter is the drawing engine. Use Canvas.drawArc for the main sweep, drawLine/drawCircle for ticks and center, and TextPainter for labels. Structure the painter to separate static elements (background arc, ticks) from dynamic elements (sweep, needle). This makes it easier to optimize repaint decisions.

Example painter skeleton:

class GaugePainter extends CustomPainter {
  final double valuePct; // 0..1
  // other style fields
  GaugePainter(this.valuePct);
  @override
  void paint(Canvas canvas, Size size) {
    final radius = size.shortestSide / 2;
    final center = Offset(size.width / 2, size.height / 2);
    // draw background arc, ticks, then dynamic sweep
  }
  @override
  bool shouldRepaint(covariant GaugePainter old) => old.valuePct != valuePct;
}

Key painting tips:

  • Use Paint.strokeCap = StrokeCap.round for polished arc ends.

  • Convert degrees to radians with radians = degrees * pi/180.

  • For ticks, rotate the canvas or compute points with sin/cos from angles.

  • Use save() and restore() around transforms to keep state predictable.

Animating The Gauge

Animations make gauges feel alive. Use an AnimationController and Tween to animate value changes. Do not recreate controllers in painter; manage them in the StatefulWidget. Use AnimatedBuilder or listen to controller and call setState to trigger repaints.

A compact animation pattern:

controller.animateTo(targetPct, duration: d, curve: Curves.easeOut);
// In build:
CustomPaint(painter: GaugePainter(controller.value /* mapped to 0..1*/));

Animate the sweep angle or needle rotation rather than raw numeric text for smoother visuals. Interpolate colors if you want a gradient effect based on value. For frequent updates (e.g., streaming telemetry), debounce state updates and animate to new values instead of jumping.

Integrating Into Your App

Wrap the CustomPaint in a StatefulWidget that exposes API: min, max, value, duration, color scheme, showLabels, size. Convert external numeric value to normalized percentage before passing to painter. Example conversion: clamp((value - min)/(max - min), 0.0, 1.0).

Performance considerations for mobile development:

  • Implement shouldRepaint precisely; return true only when parameters affecting visuals change.

  • Cache static parts using PictureRecorder or draw them to an offscreen Image if ticks and background are expensive and rarely change.

  • Keep expensive text layout out of the paint loop; precompute TextPainter layouts when style or size changes.

Accessibility: provide semantics for the gauge value so screen readers can announce the numeric reading. Also consider high-contrast color schemes and scalable sizing for different device DPIs.

Vibe Studio

Vibe Studio, powered by Steve’s advanced AI agents, is a revolutionary no-code, conversational platform that empowers users to quickly and efficiently create full-stack Flutter applications integrated seamlessly with Firebase backend services. Ideal for solo founders, startups, and agile engineering teams, Vibe Studio allows users to visually manage and deploy Flutter apps, greatly accelerating the development process. The intuitive conversational interface simplifies complex development tasks, making app creation accessible even for non-coders.

Conclusion

Building a custom gauge with CustomPainter and Flutter animations gives you full control over appearance and behavior while keeping performance predictable. Separate layout, painting, and animation responsibilities: use the widget to manage state and animation controllers, use CustomPainter to draw based on normalized parameters, and optimize repaints for mobile development. With this pattern you can extend the gauge with multiple arcs, gradient sweeps, or interactive pointers while keeping the API simple and reusable.

Build Flutter Apps Faster with Vibe Studio

Vibe Studio is your AI-powered Flutter development companion. Skip boilerplate, build in real-time, and deploy without hassle. Start creating apps at lightning speed with zero setup.

Other Insights

Join a growing community of builders today

Join a growing community of builders today

Join a growing community of builders today

Join a growing community of builders today

Join a growing community of builders today

28-07 Jackson Ave

Walturn

New York NY 11101 United States

© Steve • All Rights Reserved 2025

28-07 Jackson Ave

Walturn

New York NY 11101 United States

© Steve • All Rights Reserved 2025

28-07 Jackson Ave

Walturn

New York NY 11101 United States

© Steve • All Rights Reserved 2025

28-07 Jackson Ave

Walturn

New York NY 11101 United States

© Steve • All Rights Reserved 2025

28-07 Jackson Ave

Walturn

New York NY 11101 United States

© Steve • All Rights Reserved 2025

28-07 Jackson Ave

Walturn

New York NY 11101 United States

© Steve • All Rights Reserved 2025