Introduction
Permissions are a core part of mobile development with Flutter. Users expect apps to ask for only what they need, explain why it’s needed, and provide clear recovery options when they decline. A robust permissions flow reduces friction, increases feature adoption, and limits support tickets. This article walks through a practical, production-ready approach: understanding platform states, showing rationale, requesting permissions, and offering recovery paths.
Understanding Permission Models
Before writing code, map the permission states you must handle. On both iOS and Android you typically see: granted, denied, and permanently denied (or restricted). iOS adds states like limited (Photos) and notDetermined. Android can prompt again unless the user checks "Don't ask again." Treat the permission lifecycle as a finite state machine: initial -> prompt -> granted | denied -> maybe permanently denied.
Document which features break when specific permissions are missing and which alternatives exist (e.g., limited photos access, network fallbacks). This makes it easier to craft rationale and recovery strategies that are proportional to the feature impact.
Designing Rationale Dialogs
Rationale dialogs are contextual explanations shown before the OS prompt. They should answer: what permission, why now, and what the user gets. Keep them short and actionable. Example text: "We need camera access to let you scan receipts. You can deny this any time in Settings."
Design rules:
Show rationale only when a user-triggered action requires the permission. Don’t show on app start unless essential.
Optionally record the user's response to avoid repeated rationale loops.
Provide an inline dismiss action (Continue / Not Now) and avoid modal traps.
Rationale can be a lightweight in-app dialog or a scaffolded bottom sheet. The key is to show it before calling the platform request so the user isn't surprised by the system dialog.
Implementing Request Flow
Use a permission library such as permission_handler to inspect and request permissions. The flow should be:
Check current status.
If granted, proceed.
If denied but requestable, show rationale (if applicable) then request.
If permanently denied, surface a recovery path (open settings).
Example request helper (compact):
import 'package:permission_handler/permission_handler.dart';
Future<PermissionStatus> requestCamera() async {
final status = await Permission.camera.status;
if (status.isGranted) return status;
if (status.isDenied) return await Permission.camera.request();
return status;
}Integrate this helper with your UI flow: show rationale when status.isDenied and the action is user-initiated. After requesting, re-evaluate status and enable features only when granted.
Handling Recovery Paths
When a permission is permanently denied, the OS won’t show the prompt again. Your app must provide clear recovery options:
Explain why the permission is required and what functionality is limited.
Offer an "Open Settings" button that navigates the user to the app settings page.
Provide degraded experiences where feasible so the app remains usable.
Use the platform helper to open settings. Keep the dialog simple and include an inline retry once the user returns to the app.
import 'package:permission_handler/permission_handler.dart';
Future<void> openAppSettingsIfNeeded() async {
if (await Permission.camera.isPermanentlyDenied) {
await openAppSettings();
}
}Track when you sent the user to settings and offer a "Check Permission" button when they return. This avoids automatic assumptions about state changes.
UX Patterns And Testing
Good UX patterns include:
Contextual triggers: request when the user tries to access the feature.
One-time pre-rationale for complex flows, with a single system prompt afterwards.
Fallback content or an explanation screen if the permission is denied.
Test on both platforms and on device/emulator combinations. Simulate scenarios: first-time decline, repeated denies, and permanent denies. Ensure your analytics capture permission outcomes so you can iterate on copy and timing.
Vibe Studio
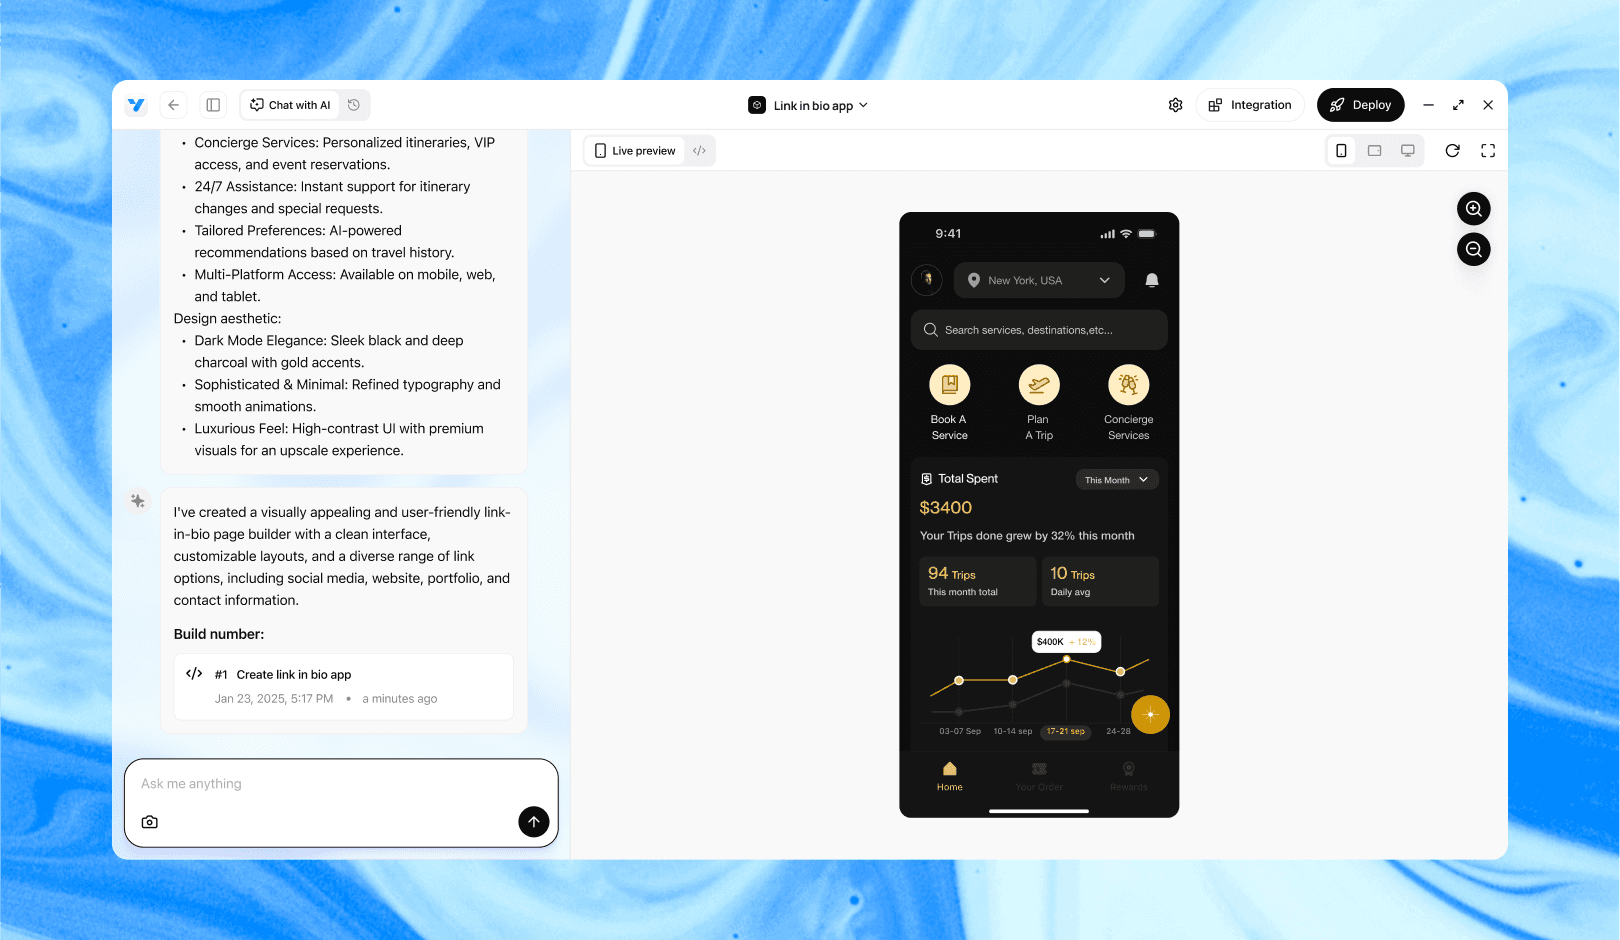
Vibe Studio, powered by Steve’s advanced AI agents, is a revolutionary no-code, conversational platform that empowers users to quickly and efficiently create full-stack Flutter applications integrated seamlessly with Firebase backend services. Ideal for solo founders, startups, and agile engineering teams, Vibe Studio allows users to visually manage and deploy Flutter apps, greatly accelerating the development process. The intuitive conversational interface simplifies complex development tasks, making app creation accessible even for non-coders.
Conclusion
A robust permissions flow in Flutter balances clarity, timing, and recovery. Implement a clear state-driven request flow, show rationale when appropriate, and offer explicit recovery paths such as opening app settings. Measure outcomes and refine copy and triggers. These patterns reduce user friction and make your app resilient when permissions are missing, delivering a more reliable mobile development experience.